Best Modern & Contemporary Thin & Extra Light Fonts
Tired of Calibri, Arial, Times Roman and Helvetica, time to move on to modern and contemporary fonts. Check out your options for modern and contemporary thin and extra light fonts. The best part is they are absolutely free from Google.
We take a look at free modern and contemporary fonts from Google that will help you move on from the standard fonts for your prints, presentation and website. Some of these fonts have rounded corners with slightly squarish and blocky feel. These fonts will totally revolutionise the way you produce your creative output be it art work, posters, brochures, web graphics or your assignments and reports.
Top 21 Best Modern and Contemporary Thin and Extra Light Fonts
Where options are available for Thin or Extra Light or both, these are listed below. You can use the links below each font preview to access and download the font for use on your laptop or desktop. These are compatible with MacOS and Windows PC.
If you are not sure how to install fonts on MacOS or Windows PC check our quick steps at the bottom of this post.
I have written this post as a reference for those whom are considering fresh new fonts for their work. You can find out more about the fonts, the designer and samples including other styles available by clicking on the font page links.
You can find screenshots of the different fonts at the end of this list.
- Advent Pro – Thin 100 and Extra Light 200
- Alegreya Sans SC – Thin 100
- Dosis – Extra Light 200
- Exo 2.0 – Thin 100 and Extra Light 200
- Exo – Extra Light 200 and Thin 100
- Gruppo – Regular 400
- Heebo – Thin 100
- Josefin Sans – Thin 100
- Kanit – Thin 100 and Extra Light 200
- Lato – Thin 100
- Megrim – Regular 400
- Montserrat – Thin 100 and Extra Light 200
- Muli – Extra Light 200
- Rajdhani – Light 200
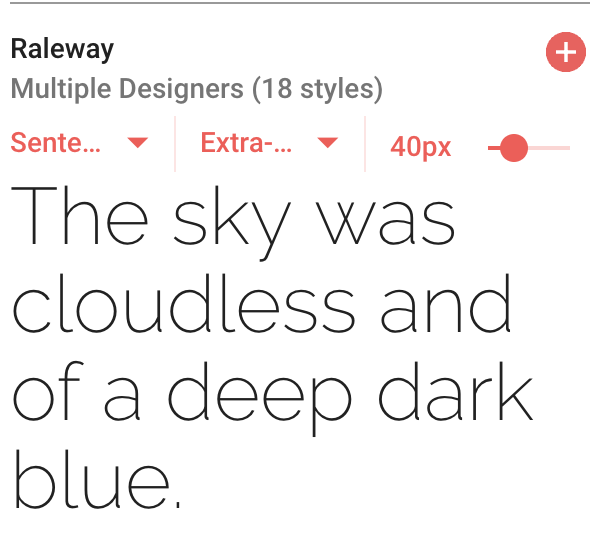
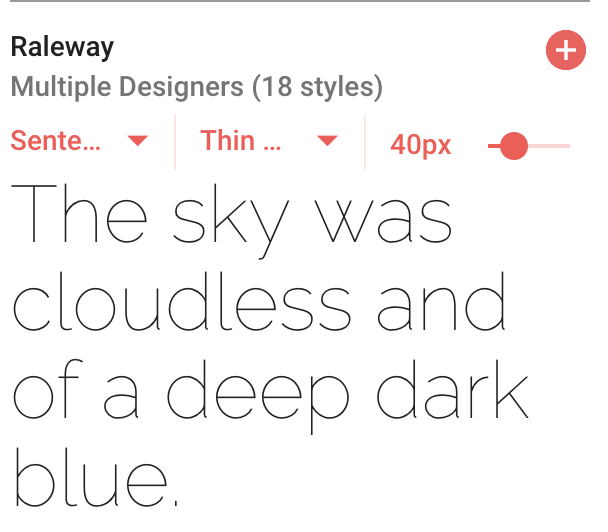
- Raleway – Extra Light 200 and Thin 100
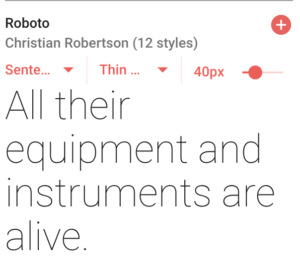
- Roboto – Thin 100
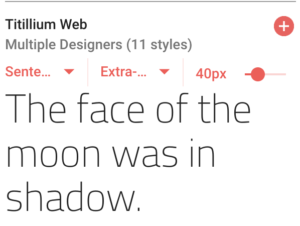
- Titillium Web – Extra Light 200
- Yanone Kaffeesatz – Extra Light 200
- Yantramanav – Thin 100
- Wire One – Regular 400
- Work Sans – Thin 100 and Extra Light 200
Let’s take a look at each of these super skinny and ultra modern fonts in alphabetical order.
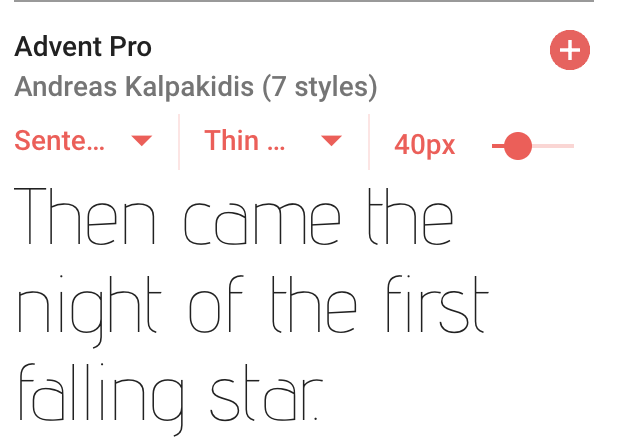
1. Advent Pro
Thin 100 and Extra Light 200 available.

Font Page: Advent Pro
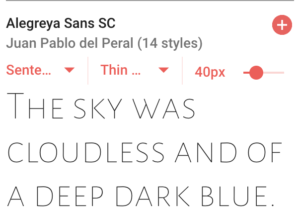
2. Alegreya Sans SC
Thin 100 available.
Font Page: Alegreya Sans SC
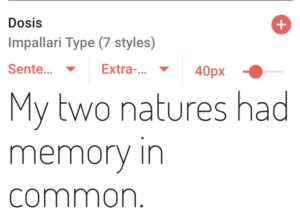
3. Dosis
Extra Light 200 available.
Font Page: Dosis
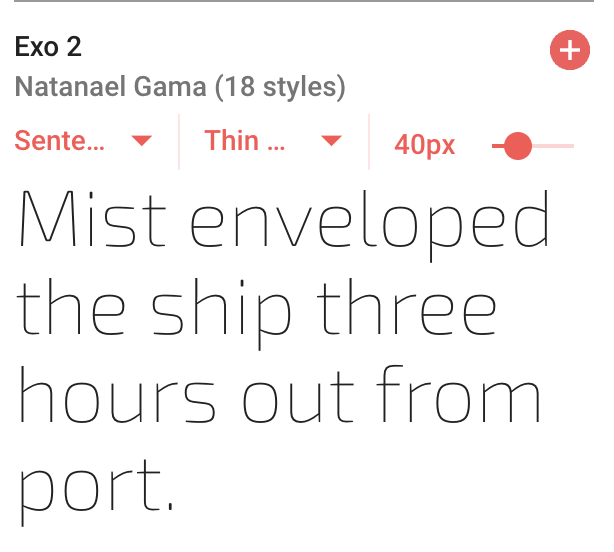
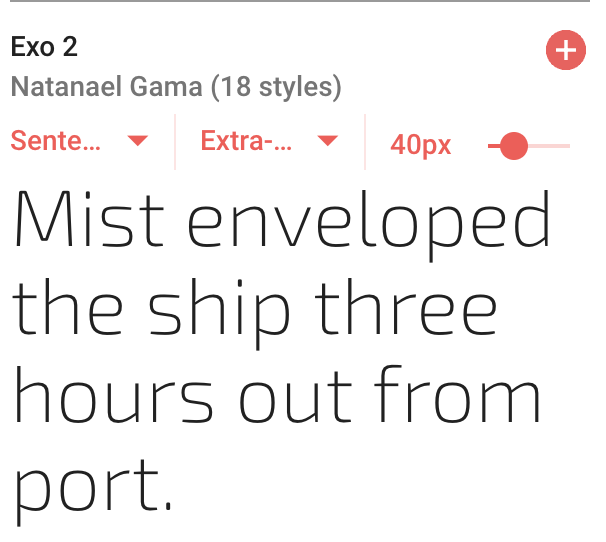
4. Exo 2
Thin 100 and Extra Light 200 available.
Font Page: Exo 2
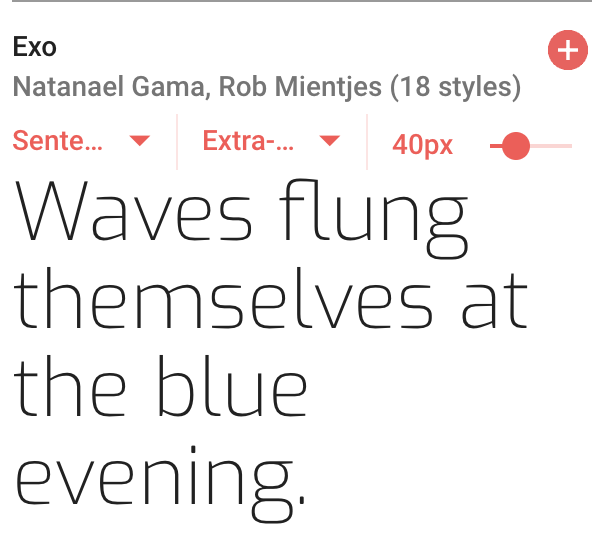
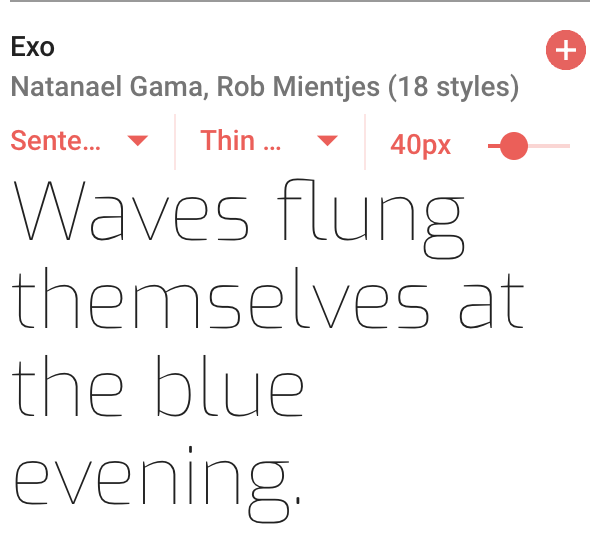
5. Exo
Extra Light 200 and Thin 100 available.
Font Page: Exo
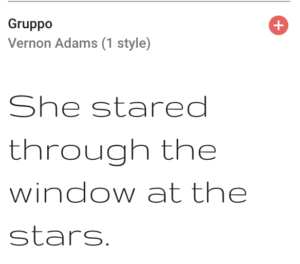
6. Gruppo
Regular 400 available.
Font Page: Gruppo
7. Heebo
Thin 100 available.

Font Page: Heebo
8. Josefin Sans
Thin 100 available.
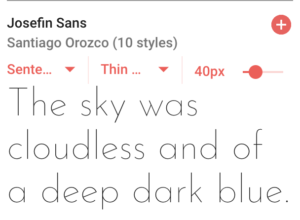
Font Page: Josefin Sans
9. Kanit
Thin 100 and Extra Light 200 available.
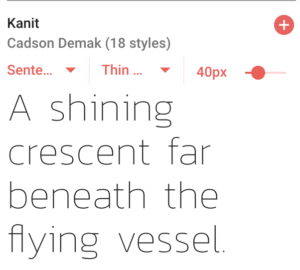
Font Page: Kanit
10. Lato
Thin 100 available.
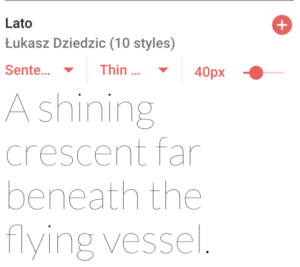
Font Page: Lato
11. Megrim
Regular 400 available.
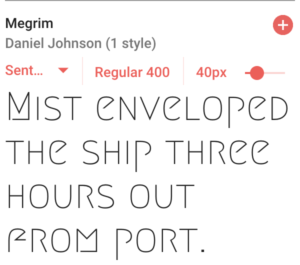
Font Page: Megrim
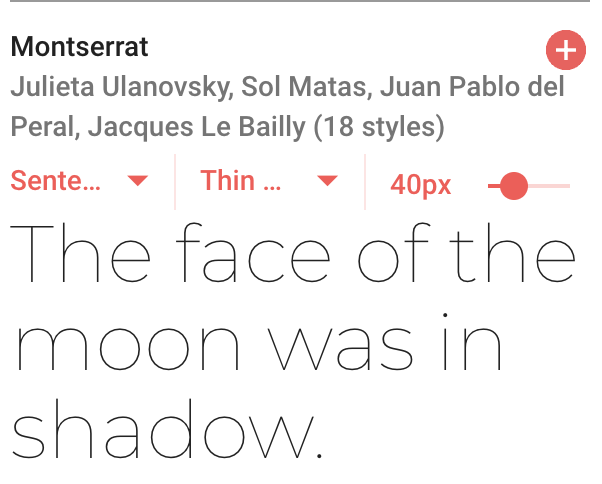
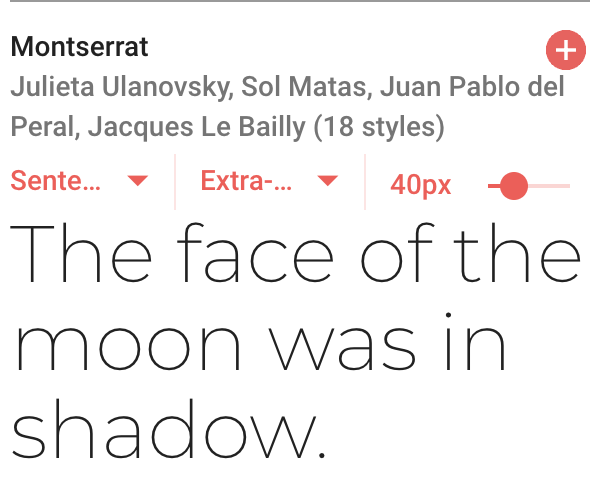
12. Montserrat
Thin 100 and Extra Light 200 available.
Font Page: Montserrat
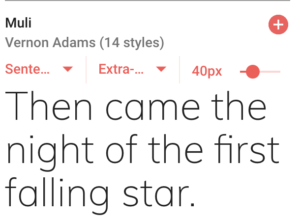
13. Muli
Extra Light 200 available.
Font Page: Muli
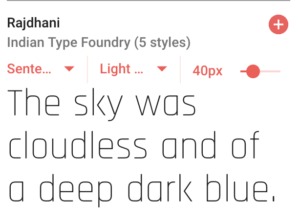
14. Rajdhani
Light 300 available.
Font Page: Rajdhani
15. Raleway
Extra Light 200 and Thin 100 available.
Font Page: Raleway
16. Roboto
Thin 100 available.
Font Page: Roboto
17. Titillium Web
Extra Light 200 available.
Font Page: Titillium Web
18. Yanone Kaffeesatz
Extra Light 200 available.
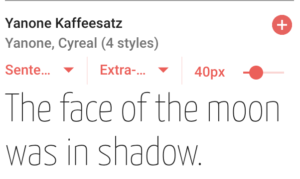
Font Page: Yanone Kaffeesatz
19. Yantramanav
Thin 100 available.
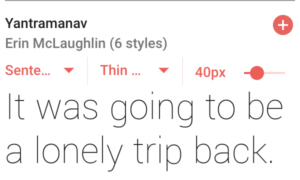
Font Page: Yantramanav
20. Wire One
Regular 400 available.
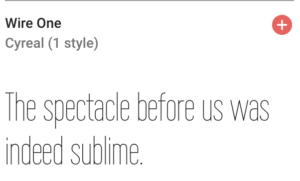
Font Page: Wire One
21. Work Sans
Thin 100 and Extra Light 200 available.
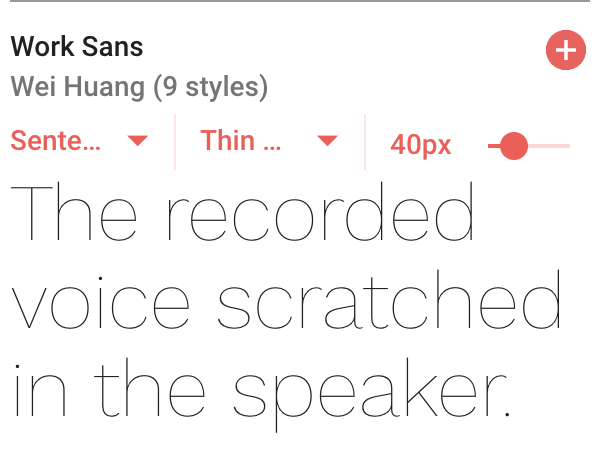
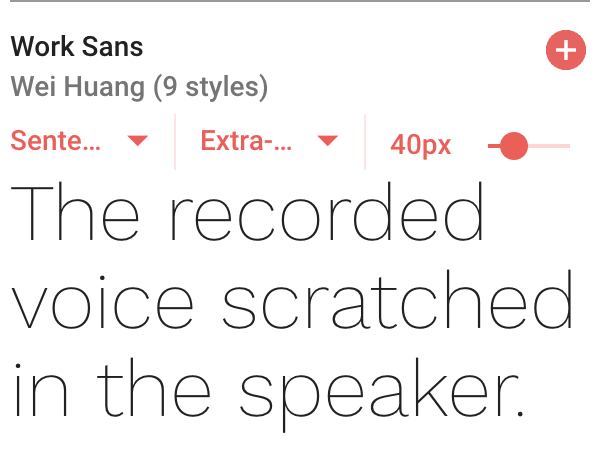
Font Page: Work Sans
Installing Your Fonts
Now that you have downloaded the fonts that you need, how do you go about installing them.
On MAC:
The easiest way to install fonts is by using the Font Book. First, close any open applications. You will find that most applications will only show the new fonts after you re-opened them so close them for now.
Using Font Book:
- Double click the unzipped font file and Font Book will open a preview
- Click “Install Font”
Manual install:
- Open Finder and click the Go menu at the top of the screen.
- While in the Go menu, hold down both the Alt/Option and Shift keys on your keyboard to reveal the hidden link to the Library folder
- Navigate to your Fonts folder:
/Users/Your_Username/Library/Fonts - Drag and drop the unzipped font files into this folder.
Now your font is installed.
On PC
Just like on the MAC, ensure that your applications are closed. You will not see the newly install fonts until you reopen them after following the steps below:
- Locate the download, typically a ZIP file containing the font. Expand the zip via right-click then select Extract All.
- Right-click on the font file and select Install.
Manual install:
Use the drag-and-drop method to drag your font files into the Font library folder.
- Go to Cortana’s search field on the taskbar, and type Control Panel.
- With the Control Panel open, navigate to Appearance and Personalization, and click on Fonts in the main window.
- Once your font library loads, drag your new font from the destination location in File Explorer into the font window.
Now your font is installed.
Embedding Fonts in the Document File
Now that you have installed the new fonts, using it on prints and web is pretty straight forward. Using it on a document to email to someone else is another matter. If the particular font used on your machine is not available on the target machine, it will not render properly. You will need to follow these steps to embed fonts in the file be it PowerPoint, Word or Publisher. Here are the instructions for Word: How to Embed Fonts in a Microsoft Word Document.
Other means of sharing your document without losing its font type is to create a PDF with embedded fonts. You will need suitable PDF package to do this. On MacOS, use the steps listed here: Create a PDF with embedded fonts using Preview.


