5 Easy Tips on How to Take Better Photos on Your Phone
Observe these five simple tips and you are off to a good start taking amazing photos with the camera on your phone.
There is no denying that smartphone photography is a thing. Every smartphone comes with at least a front and a rear camera. Flagship smartphones are starting to include a second rear facing camera offering greater colour depth and detail or optical zoom. Huawei went and add a third rear camera to their latest flagship the P20 Pro, combining a 40MP Light Fusion sensor for light and definition, 20MP black and white lens for depth and 5X Hybrid Zoom lens to zoom in on your subject. Some of these features are not even available on a full size DSLR. Now, that is not to say that these smartphones are better than a DSLR but with the sort of professional photo quality we are getting, it is quite close.
Capturing photos with your smartphone is easy, simply because, you have it with you all the time. With high specifications and features as well as clever software AI, we are seeing pro-level photos that can rival the DSLR.
5 Easy Tips To Taking Better Photos on Your Smartphone
Taking time to understand these 5 easy to follow tips and tricks will ensure that you get the most of your smartphone cameras.
1. Let there be light
Natural light is the best. You can take better photos on a clear day compared to a cloudy and dull day when shooting outside. With sufficient natural light, you can get amazing landscape, object and people shots but watch out for over exposure and shadows. Place the source of light in front of the subject or if the light is too strong such as the sun, keep it at an angle to avoid squints. Always place the subject in front of a background that gets equal amount of light. That way you capture both the subject and its background in your photo.
Avoid a background that is too bright as this will cause the subject to appear darker. If the sun is too bright, take photos of people or objects in the shade.
For indoor photography, make sure there is plenty of light. Draw the curtains back to let as much natural light in as possible or switch on all the lights if you have to. You will typically need additional light source to compensate. In low light conditions, the LED flash on your phone will fire (if enabled) so make sure you are not too close to your subject causing it or them to appear over exposed. If studio lighting is not available, consider a portable LED light box with light diffuser or filters.
You can also be clever with lights, capturing how light falls on your subject helps create a more dramatic effect on photo.
2. Use the grid – rule of thirds
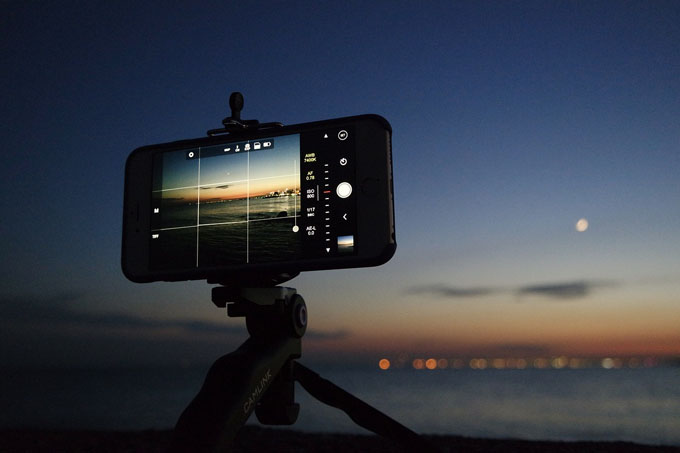
Enable the grid on your viewfinder in the camera settings. Once you have that, use the rule of thirds. What is the rule of thirds? It is simply a guide to composing your shots. Once you have enabled the grid overlay, you will notice two horizontal and two vertical lines. When shooting landscape, ensure that the horizon is either on the top or the bottom horizontal line. You then ensure that your subject or key objects in your photo are positioned where the horizontal and vertical lines meet, this can be one of the four points where the lines intersect. See image below as an example.

You may ask, why would one choose to deliberately move the object off centre. Most beginners would automatically put their subject death centre when framing their shots. In making your focal point off-centre, the eye is drawn across the photo and you get to show more than just the subject. Photographers can take advantage of this extra space and add their own creative mark on it.
Images composed using the rule of thirds makes the photo more interesting. Below is a side by side comparison between a central focal point and one that applies the rule of thirds.

Images from Wikipedia.
The rule is not rigid or set in stone, you can play around with this. Your subject or focal point need not be exactly on the cross section. It just needs to be near it. Enabling the grid also lets you check that your horizon is levelled when taking a landscape photo. However, you can always tilt the image using a photo editor later.
3. Tap Before Shooting
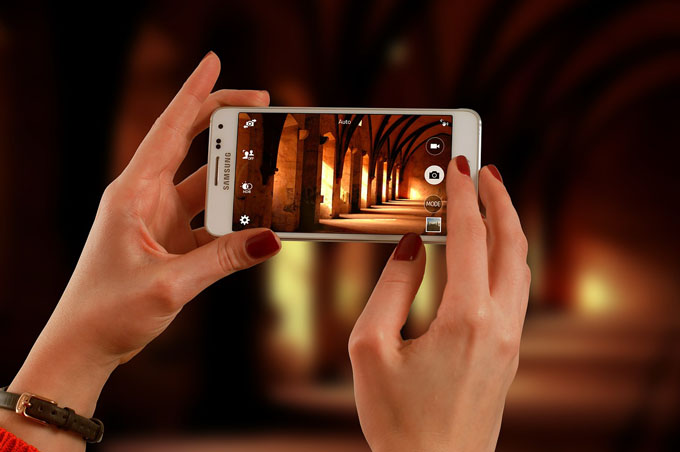
When taking photos on your cell phone, don’t just click on the shutter button. Tap the subject on your viewfinder to focus on it. It is especially important to do this if you are shooting indoor and in low light. Tapping also changes the exposure level, ensuring that your subject is not too dark or too bright.
Some camera app lets you lock the focus and exposure values with a long tap, this is usually called AE/AF lock. AE stands for Auto Exposure, and AF for Auto Focus. This is useful for action shots. Advanced camera app lets you set the exposure level manually by swiping up or down on the view finder once you have selected your point of focus.
When capturing photos of people or object outdoor where the background is bright, tap on the background e.g. the sky, and check the exposure of the subject. The background will show plenty of colour, depth and detail at the expense of the subject.
Next, tap on the subject, and you will get a clearer and brighter foreground while the background is usually over-exposed. You can then set the exposure level manually so you get some detail of the background, but not too much that your subject or foreground appears too dark.
4. Frame Your Shots
Unless you get a phone with wide angle lens or use a wide angle clip-on lens, normal smartphone lenses are quite narrow. To take photos of buildings, you will need to be stand well back, far enough to frame the building. Try taking it from across the road or side ways a block down. Just remember to stay safe. If it is a really tall building, consider taking it from an angle up.
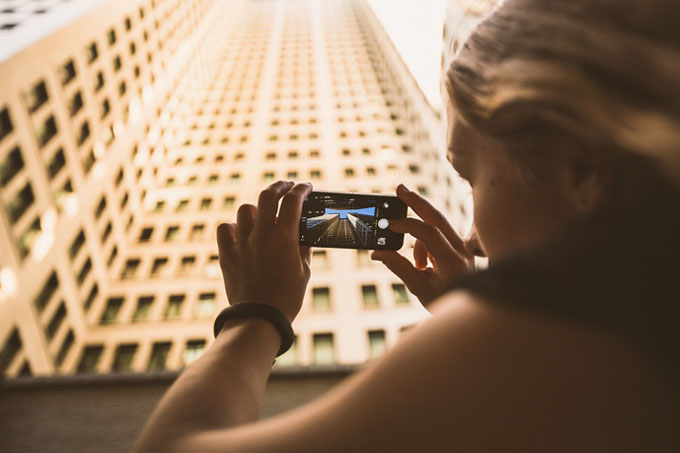
For landscape shots, use the rule of thirds when framing your photos.
If you are taking photos of object or people, try to fill the frame. Get in closer and place more emphasis on the subject. If need be, get someone to hold up a white cloth, paper or card to reduce the shadows on the face or object. This will reflect some light back onto the shadowed side.
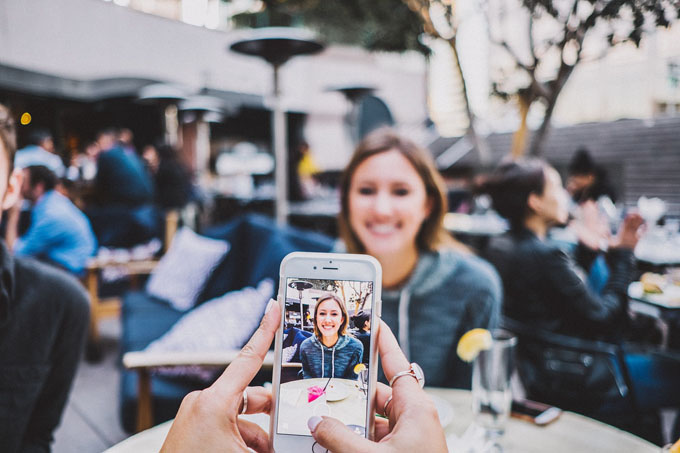
Most camera apps have different portrait modes to take amazing portrait shots with effects and filters. Take as many photos as possible with as many of these effects and filters and see the result. Familiarise yourself with these to see what your camera is capable of.
5. Up Your Game With Some Essential Accessories
Take your smartphone photography to the next level with some essential accessories. Professional photographers add these gears to their DSLRs to help them take better photos. Pro-level smartphone photographers can do the same too. Consider snap-on lens kit and lens filters, portable LED lights with interchangeable temperature filters and diffuser, tripods (table top, grip and floor standing) and universal mounts as well as camera rig.
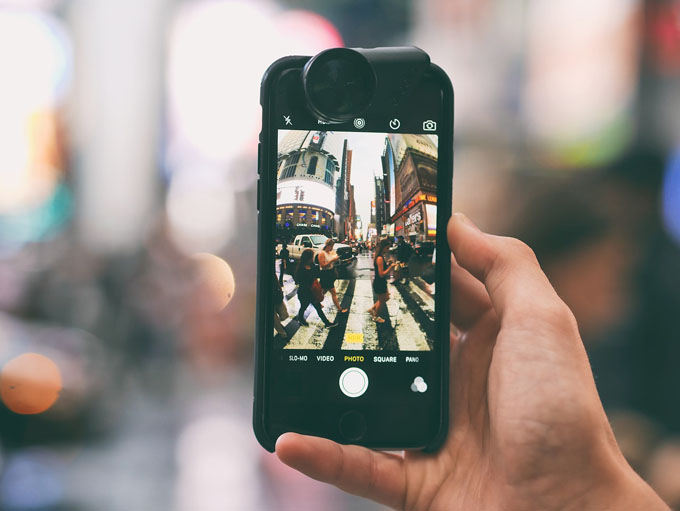
If you take smartphone photography seriously, these essential accessories are a must. And, if you take lots of photos like I do, you may want to consider extra storage in the form of microSD, flash drive with lightning connector, USB Type-C or micro USB, portable wireless hard drive or wireless travel router. For convenience, if you don’t mind paying a monthly fee, online cloud storage can be a quick and easy way to backup your photos. You can then free up the space on your internal memory to take even more.
BONUS: Dos and Don’ts
Don’t use the digital zoom. If you have a telephoto lens on your phone for optical zoom, use this but don’t go beyond. Photos will be grainy and small when taking with digital zoom. You can capture your photo at the highest resolution possible and crop it later and you would have achieved the same effect. Alternatively, use a clip-on telephoto lens for zooming.
Do take many photos. Always take multiple shots, you can always decide which one is better on the big screen later. Taking just the one photo is putting yourself at risk of missing out on a special moment or a particular exposure level that works for the scene. This is especially important if you are visiting a once in a lifetime location.
Do take a variety of shots from different angles. Don’t just stand in one spot, take a good number of shots and move on. Try different angles and perspectives. Be agile on your feet. By changing your position and framing your shots from different angles, your photos will capture the dynamics of the different people or the scenery.
Do have additional or backup storage. If supported, stick a big microSD card into your photo, roomy enough for you to not have to worry about overloading your smartphone’s storage. Don’t worry if you phone does not support microSD card, there are plenty of other options include plugging in a flash drive directly to the phone or using wireless hard drive to backup your photos and videos.
Do keep your camera within reach. Alway have your phone ready to capture any moment at any time. You phone should always be kept on and your fingers near the fingerprint scanner, ready to unlock it. Phones with facial recognition to unlock your phones, be ready to
Do carry a portable battery charger. While most phones will last you through the day with normal usage, if you use your phone to take photos and capture videos, you will soon run low on juice. If you are out and about, make sure you bring a portable battery charger to top up or use a battery case. There are now ultra portable battery packs that you can chuck in your bag or slip into your pocket to bring with you.
Do consider using a cloud service. Better be safe than sorry. You can lose your microSD card, your flash storage, your portable hard drive or even your phone but if you have it saved in the cloud, you will thank your lucky stars you did not lose your precious memories. Note that online cloud storage solutions charge a monthly fee for a sufficiently large amount of storage space in the cloud.
Do protect your phone. As you will be using your phone a lot, make sure you protect it with a tough case that can withstand drops and bumps. Accidents happen and money spent on a good case will pay for itself many times over as it will withstand any accidents and keep your phone out of harms way.
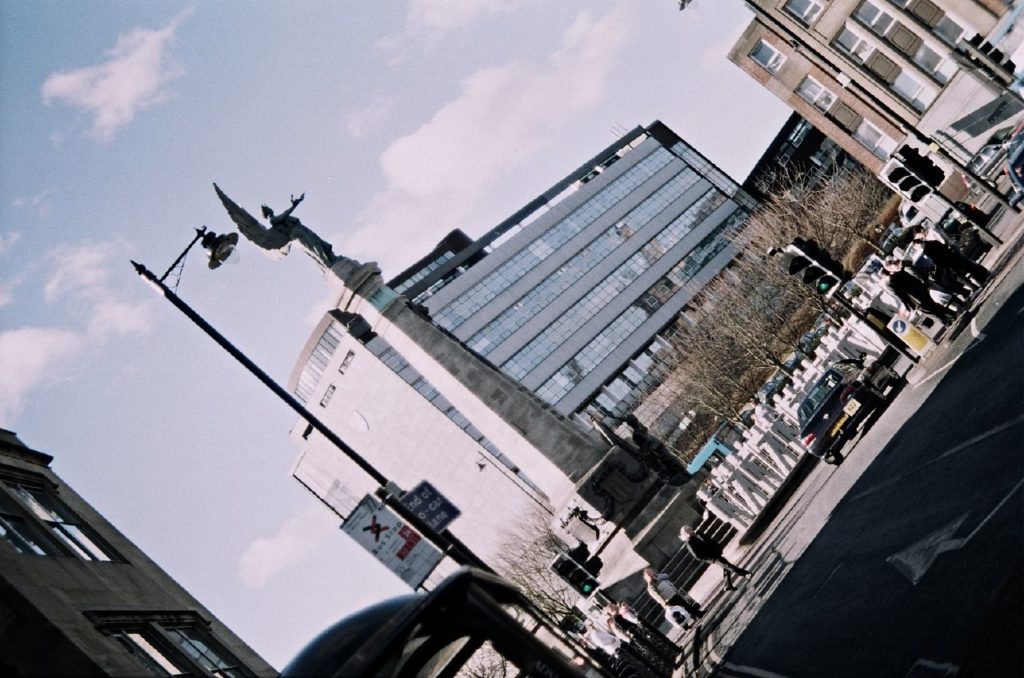
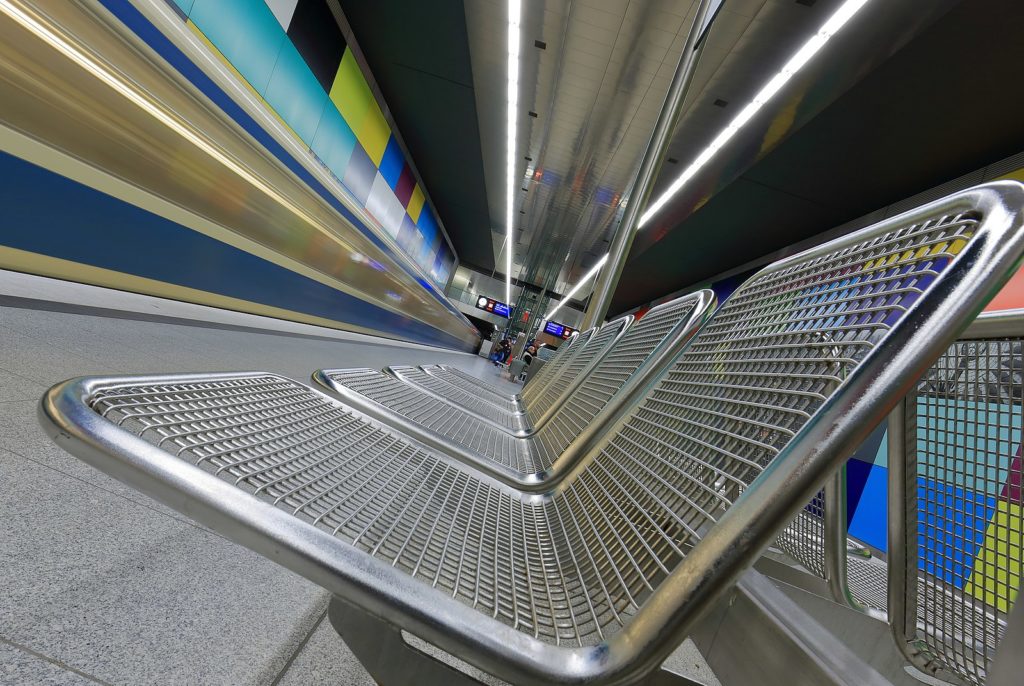
Don’t be afraid to try new things. The Dutch Angle is a way to compose your photo by tilting your camera slightly, putting your horizon at an angle. This goes against the rule of thirds but if composed correctly, it adds an air of suspense and interest to your photos. Make sure to take advantage of the vertical lines like the trees, lamp posts, buildings, roads or fences. Try moving your camera angle up high or down low. Stir things up. Put some energy into your photos. Here are a couple of examples.
Images from Wikipedia
I used the Dutch Tilt a lot on my DSLR cameras, not so much on my smartphone camera but why shouldn’t you. Writing this article made me realise that I ought to give the Dutch Angle a go again with my smartphone.
Don’t stop learning. Check out what professional photographers are doing. Keep yourself up-to-date with the latest trends and styles. Read books and magazines, attend photography conventions, conferences and exhibitions and stay abreast with the industry, as all professionals would.
