How to Start a Vlog Using a Smartphone and Essential Tips
A smartphone is a quintessential tool that is always at hand. It’s a computer, our social interaction platform, business and personal communicator with powerful cameras, among many other things. That last feature allows it to capture amazing pictures and videos with studio quality sound and image. This was unthinkable even a decade back.
By the start of the second decade of the 21st-century smartphones have completely taken over from compact camera systems as the preferred tool for photography. So much so that these smartphone camera systems now fulfill our daily need to record the special moments of our life, and then share them with our loved ones. Beyond just clicking images these smartphones come with yet another powerful functionality; and that is to shoot clear, crisp, and sharp videos.
In this article, we are going to talk about an application of that functionality – vlogging.
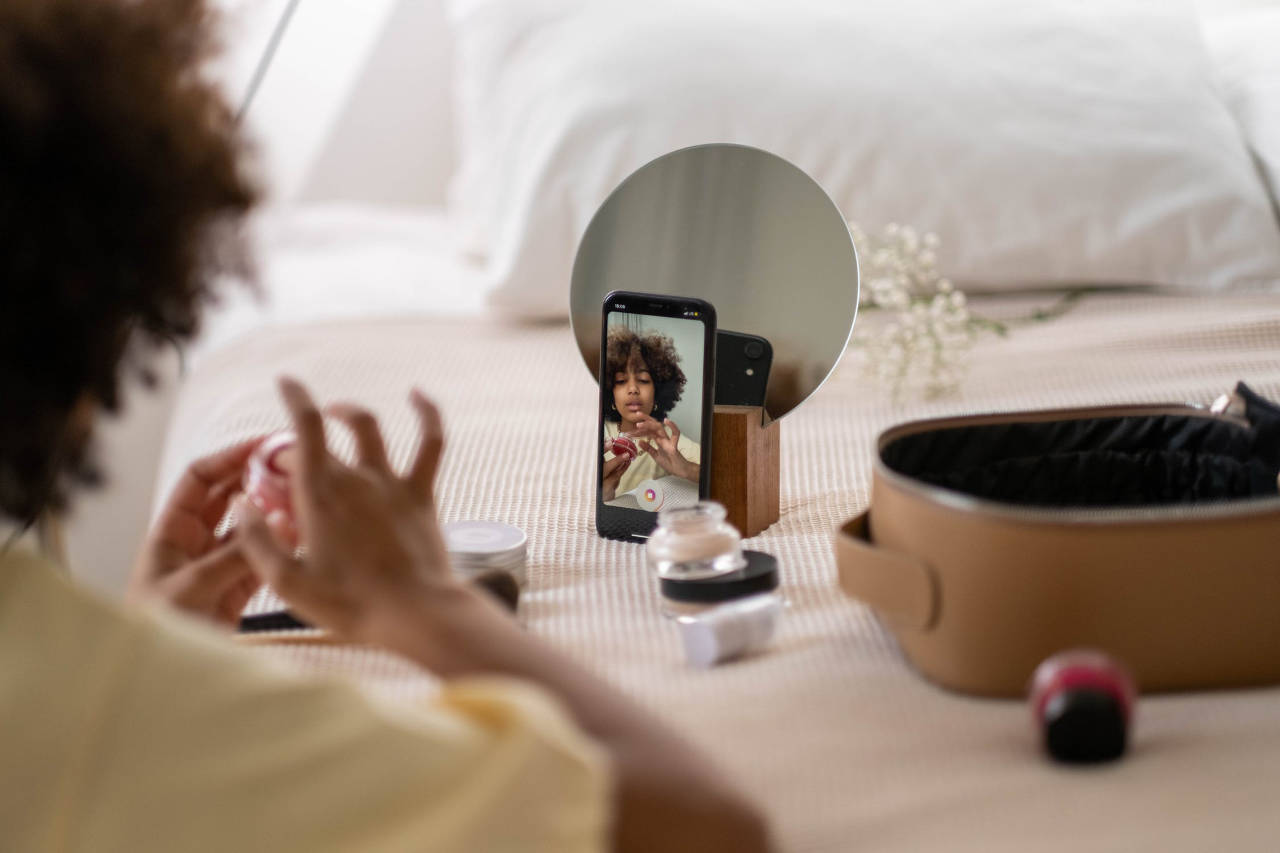
Vlogging 101 for Education
Vlogging has become a popular format among content creators to create a steady passive income. In an education context, vlogging, short for video-blogging can be used by both teachers and students. Teachers can create a vlog, and upload their video lessons there. It can then be used as a platform for remote learning, revision and to complement classroom lessons. Students can visit and revisit the videos where teachers explain a difficult concept or learn how to derive the answer to a long question there.
On the other hand, students can use a vlog to share what they have learnt, their problem solving methods, offer learning tips on difficult subjects, delivery key points from the lessons and exchange ideas. Students can also use their vlog as a part of their project, research assignment or homework. What would have been a classroom presentation of your final report can be done in front of the camera and shared with your teacher and other students.
Beyond just uploading and sharing videos, vlogging adds an element of interact with students and teachers albeit online. Viewers can leave comments and replies. Before you know it, a lively and healthy discussion will ensue on the subject you are talking about. So where does one start? Here is where we come in.
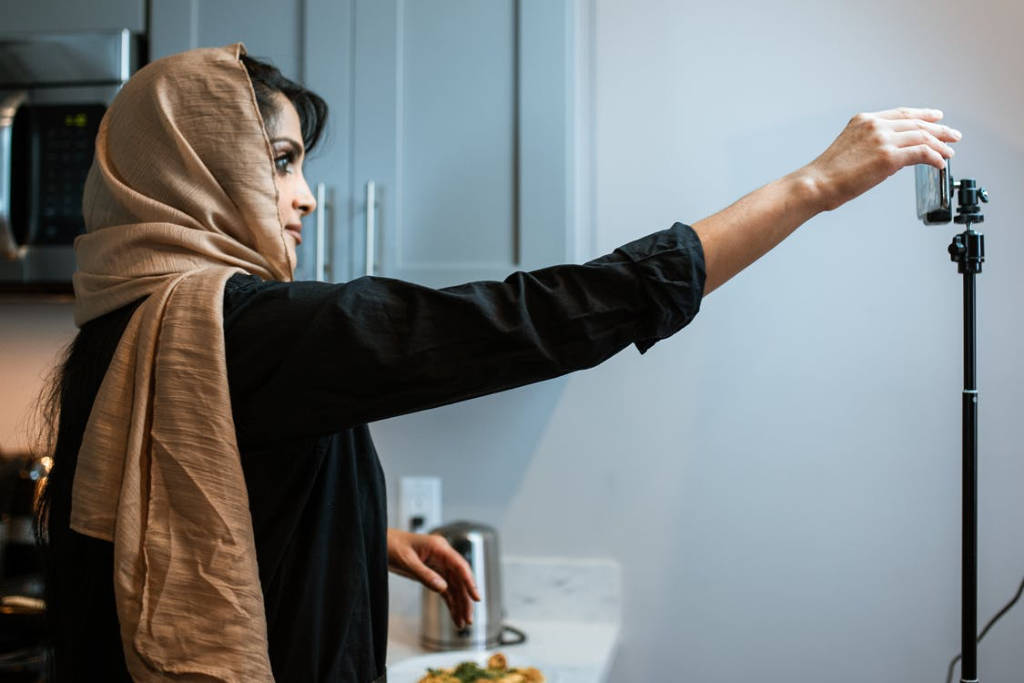
How to start a vlog using a smartphone and the essential tips you need to get started as a vlogger.
These two pose the most difficult of challenges for anyone who might be interested to start a vlog but is not quite sure as to what are the first steps. Hopefully, by the end of this article, you will have a fair idea of how to start your very own vlog.
Why smartphones for vlogging
Smartphones have a definite advantage over other types of cameras when it comes to vlogging. First of all, we always have a smartphone with us. Second, the camera inside smartphones has improved in leaps and bounds in the last decade allowing you to capture really good quality video and sound. Third, an average smartphone has got more technology inside it than the computers that sent a man to the moon for the first time. So, you are always carrying a powerful computer in your pocket that can shoot, edit and upload videos to the social media platform of your choice on the go.
Tips to start a vlog using a smartphone – choosing a subject to vlog about
The first key question to answer is what you are going to vlog about. It is always best to focus on an area or a topic that you are very comfortable speaking on and can speak about without even preparing.
There must be something that you consider yourself to be an expert on and can share a tip or two with others. It can be about cooking, health, yoga, it can be about investing in stocks, it can be about photography or driving. No matter what that skill or knowledge is that should be your topic to vlog about for the benefit of your audience.
The key advantage to choosing a topic that comes naturally to you is that you already have all the information you need to deliver a presentation without any hesitation. Speaking to a camera requires confidence. You will be able to overcome any inhibitions you may have over time. But if you sound hesitant or unsure it will show up in the video and your audience will not have the interest to sit through such a vlog.
Teachers would find vlogging easy with years of practice and experience in front of the classroom. You know your subject matter cover-to-cover and have no problem carrying a lesson and speak on this until the cows come home. So get comfortable doing the same in front of a camera. A small hurdle, but a hurdle no doubt. Prepare your online lessons in manageable chunks. Rehearse and time this to keep your video short and precise. Keep viewers engaged and use props, slides, animations and images where applicable.
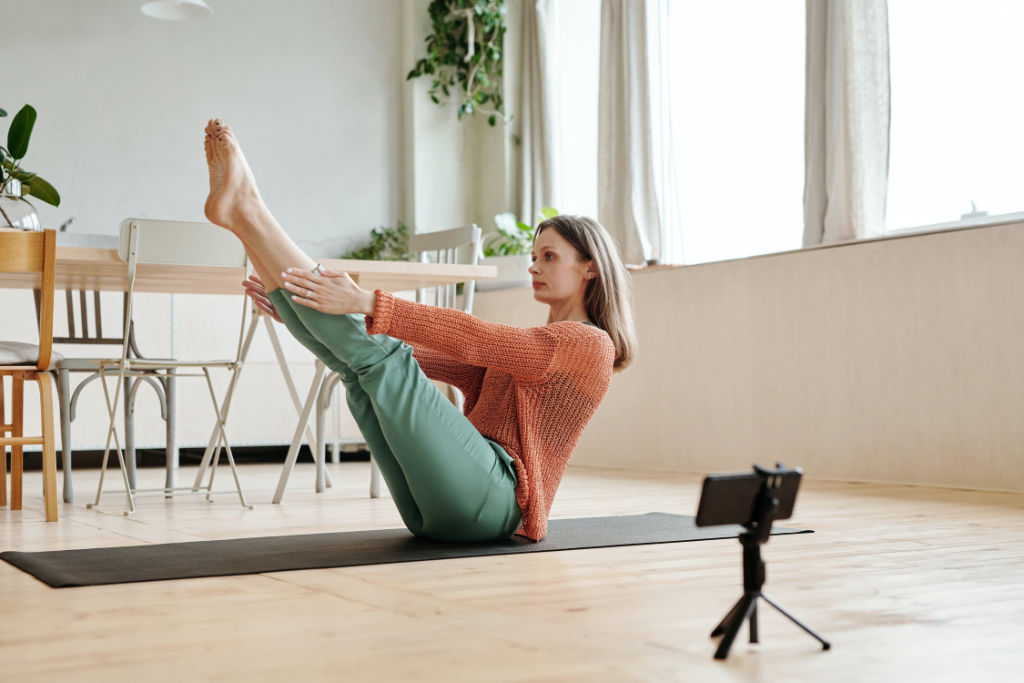
Pick the right equipment: Essential kit to get your started
By right equipment, I mean several tools including but not limited to lights, sound recording equipment, editing tools, and so on. The exact list of equipment that you will want to procure for your vlogging process flow will depend on your budget.
At the very least you will need the following tools:
1. A tripod
A tripod is a must-have for vlogging. You need a proper way to set your camera/smartphone to ensure that it does not wobble around when you are recording. There are plenty of inexpensive table-top tripods available that you can buy. You don’t have to go overboard and buy something that normally people will use only when they are shooting with a heavy DSLR. You need something light, small, and easy to operate, like a Joby Gorillapod (on Amazon).
2. A tripod mount adapter
You will also need a smartphone tripod mount. This is essential because you need a clamp for your smartphone that goes on the tripod to keep it steady. There are many different kinds of smartphone tripod adapters, but always keep in mind the tripod mount screw thread size when buying the tripod mount adapter.
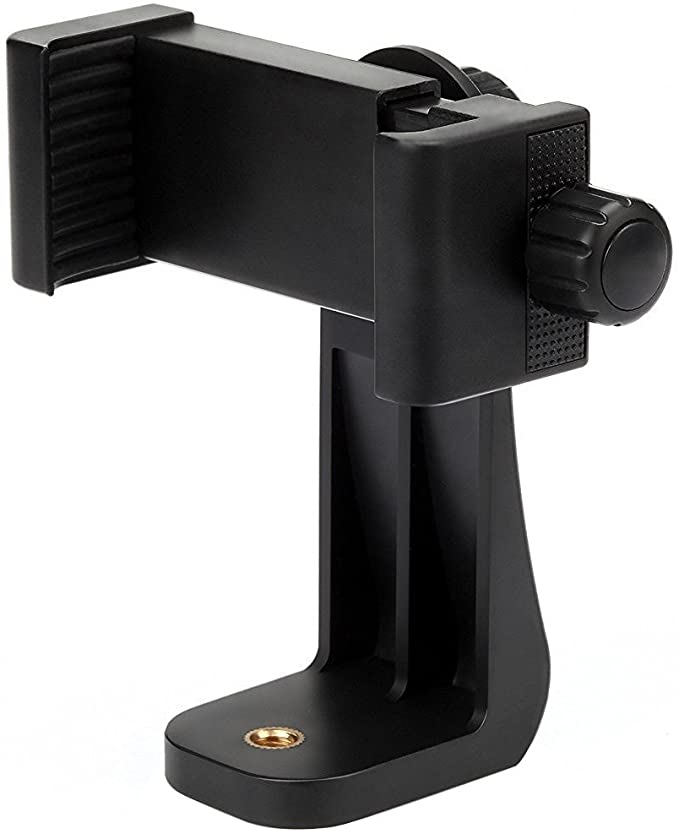
Search Tripod Adapter on Amazon
3. Gimbal stabilizer
A gimbal stabilizer is useful when you are shooting outdoors and especially when you are shooting as you are moving. For example, when you are shooting your B-rolls. The whole purpose of the gimbal stabilizer is to stabilize the camera when your hands are moving while recording videos.
Most gimbal stabilizers are powered by motors and sensors. The gimbal stabilizer will keep the movements of the camera (rotation, panning, and tilting) smooth as you move the whole set-up.
Gimbals for smartphones are a bit cheaper than those designed for heavier DSLRs. Plus, some gimbal stabilizers like the FeiyuTech G6 Max (on Amazon) come with tripod legs that you can use to record yourself when you are indoors and need to set the smartphone down.
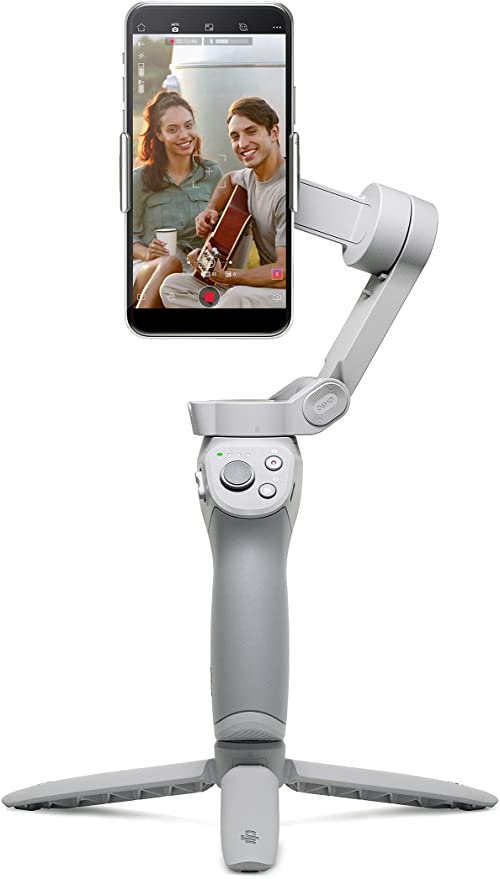
A popular 3-axis smartphone gimbal stabilizer is the DJI OM 4. The fourth generation gimbal also includes a tripod, foldable main unit, magnetic phone clamp and magnetic ring for quick release. If you do decide to go with this, you can do away with a table top tripod. Although, you might still want a floor standing tripod.
Search Gimbal Stabiliser on Amazon
4. Lights
There are many different kinds of artificial lights in the market. For obvious reasons, you need a continuous light for vlogging. Look for LED lights because they are cooler (and thus more comfortable to work with), cheaper, and consume less power. Therefore, they are cheaper to operate and won’t burn a hole in your pockets.
Even with LED lights, there are many different types. You can choose ring lights which are the best when it comes to vlogging especially in a studio/home studio set-up because they produce the most flattering quality light.
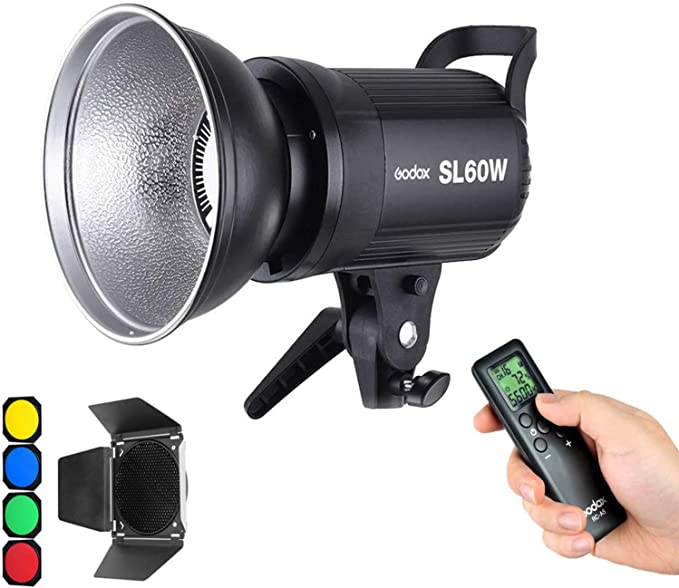
If you want something more expensive you can always go for higher output lights like the Godox SL-60W (on Amazon). You can use this with large octagonal softboxes for a more focused lighting set-up.
Ready-made kits containing multiple lights, softboxes, light stands, and changeable reflectors are also available in the market. These are inexpensive and offer you good value for money because they come as a complete set-up for your lighting needs.
Most of these kits come with at least two lights and associated accessories. Two lights are more than enough for beginner vloggers. But if you need additional lights you can pair them with another set of lights, depending on the size of the studio you are shooting in and of course your budget.
Search Video Lighting on Amazon
5. Microphone
Good quality audio is just as important for vlogs. People can sit through a low-res vlog content if the audio is good. But the reverse is never true. So, pay attention to the quality of the audio.
Sound recording tools can be broken down into two segments – mics and sound recorders. For low-budget or entry-level vlogging setups I don’t recommend an external sound recorder because it can mean a whole bunch of additional work. Both during the time of recording as well as when editing.
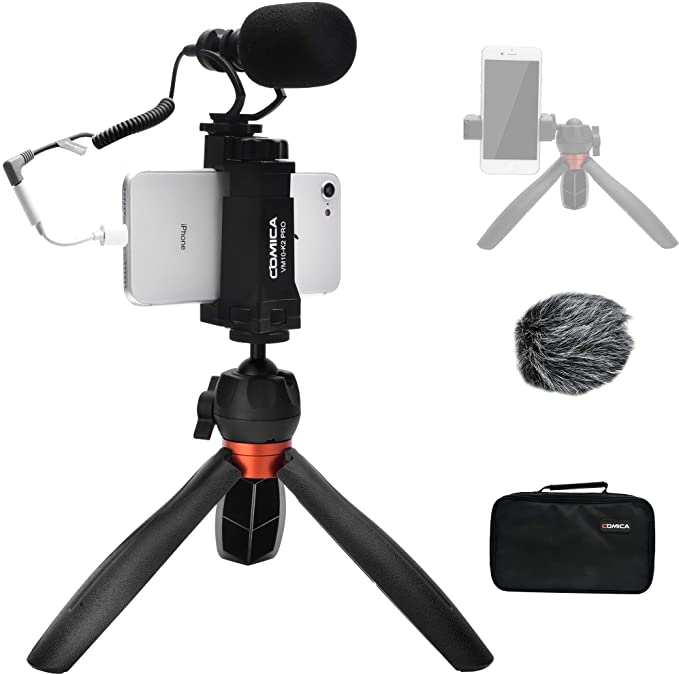
That said, I do recommend buying a good-quality mic. Built-in mics of almost all cameras are bad. They don’t record good audio. So, you need an external mic. Preferably a cardioid dynamic mic.
A dynamic mic will not require an external power source to operate properly. So, stay away from condenser mics that require a phantom power source to work with. These mics warrant additional investment and a lot of management.
Even with your mic, you will need a shock mount and a mic stand. The shock mount and the mic stand are important because you need the mic to be steady and not wobbly during recordings. Small table stands are the best.
You will also need a pop-filter. Some dynamic mics come built-in with a pop-filter. These are quite effective in canceling out the plausive.
Search Mic for Smartphone on Amazon
Editing your videos
There are a bunch of video editing applications you can look into for editing your videos. These are a few you can look at:
- Adobe Premiere Rush (Android and iPhone)
- Final Cut Pro (iPhone)
- iMovie (iPhone)
- Quick for Mobile by GoPro (iPhone and Android)
- Movavi Video Editor Plus.
- LumaFusion Pro (iPhone)
- Funimate
- ActionDirector
- FilmoraGo
- Inshot
If you prefer to edit your videos on your computer, which I recommend because you can get a better view of the timeline and have a lot of flexibility to make your edits, mix audio, and add labels and other layers, there are a bunch of editing applications you can use.
These are –
- Adobe Premiere Pro (Best for Windows. Also available for Mac)
- Apple Final Cut Pro X (Best for Mac)
- iMovie (Mac)
- Corel VideoStudio.
- Filmora from Wondershare.
- Pinnacle Studio
- CyberLink PowerDirector.
- InVideo
- Adobe Premiere Elements
Adding Music
Music is not always necessary in vlogs, but they do add a bit of extra value to your content when they are tastefully used. If you do decide to use music, I strongly recommend using copyright-free music for your videos.
The ultimate objective of publishing vlogs on social media, mainly YouTube is so that can make an additional income on the side. Using copyrighted music in your videos eliminates your videos from ever getting monetized on YouTube. YouTube is very strict about these things, so don’t take any chances.
Some video editing package lets you download and add royalty free music to your video. Feel free to pick that best is a best fit for your video. They are after all, free.
Video Sharing Platform
When you have finalised your video, it is time to release it to the world. YouTube is the most common platform to do this. However, there are other paid platforms that offer more features and protection for your video. These include Vimeo, Frame.io, SproutVideo, Imagen. Other free video sharing platform includes Facebook Watch (240 mins limit), Twitch (for gamers), DailyMotion(2GB/60 mins limit) and IGTV on Instagram (10mins/650MB and 60mins/3.6GB for renewed creators) and LBRY (no limit). Choose that platform that best meet your requirements and budget.
To conclude
Vlogging is a great way to share your experience, your knowledge, and your expertise with others who may benefit from the same. It can certainly be a way to make a passive income if the platform allows for monetisation. But no matter what your inspiration is to create vlogs you will need a few tools to make that dream come true.
I have discussed the bare minimum tools and applications you need to get started. Hopefully, these will help you to get started with the minimum hassle.
Edited and adapted for our audience here by Samuel J. Tan.
